Decentralized exchanges (DEXs) are transforming how people trade cryptocurrencies, offering self-custody, transparency, and permissionless access. One of the most popular new entrants in this space is Hyperliquid, a high-performance decentralized perpetuals exchange built for speed and low fees.
If you’re a complete beginner, this guide will walk you step by step through everything you need to know to start using Hyperliquid.xyz, from setting up a wallet to funding it with USDC on Arbitrum, and finally placing your first trade.
This article is written specifically for beginners and optimized for search engines with keywords like how to use Hyperliquid, Hyperliquid DEX tutorial, trade on Hyperliquid, and fund wallet with USDC on Arbitrum.
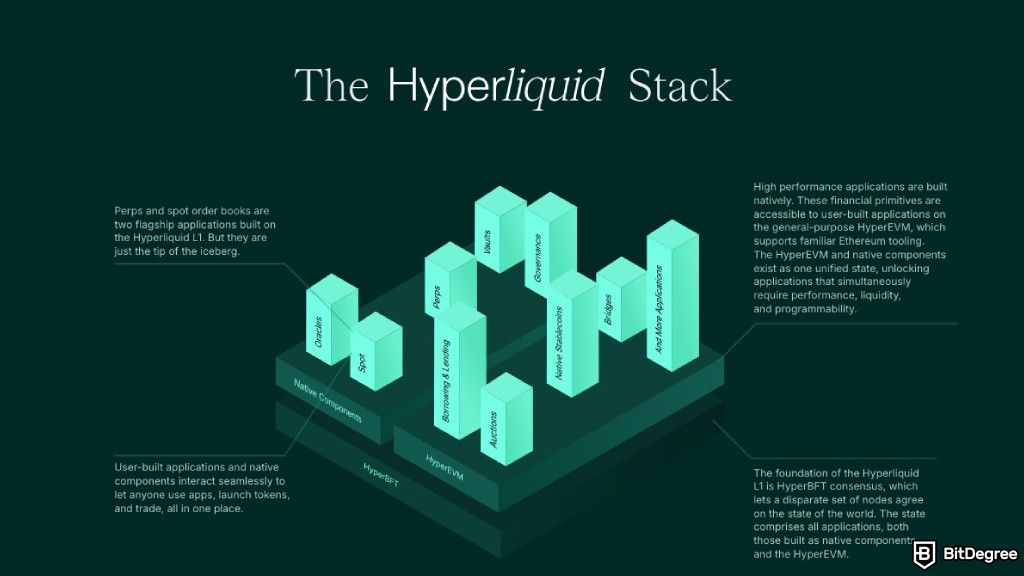
What Is Hyperliquid.xyz?
Hyperliquid.xyz is a decentralized exchange specializing in perpetual futures trading. Unlike traditional centralized exchanges, Hyperliquid allows you to trade directly from your wallet without giving up custody of your funds.
Key Features of Hyperliquid
- Fully on-chain order book
- Ultra-low latency trading
- No KYC required
- Built on its own high-performance Layer 1
- Uses USDC as collateral
- Accessed via Arbitrum wallet connections
For beginners, Hyperliquid combines the speed of centralized exchanges with the security of decentralized finance (DeFi).
What You Need Before Getting Started


Before using Hyperliquid, you’ll need a few basic things set up:
Checklist
- A crypto wallet (MetaMask or Coinbase Wallet)
- Some ETH for gas fees
- USDC on the Arbitrum network
- A secure internet connection
Don’t worry—this guide covers every step in detail.
Step 1: Set Up a Crypto Wallet (MetaMask or Coinbase Wallet)


To use Hyperliquid, you need a self-custody wallet. The two most beginner-friendly options are MetaMask and Coinbase Wallet.
Option A: Setting Up MetaMask
- Visit metamask.io and install the browser extension
- Click Create a new wallet
- Set a strong password
- Write down your secret recovery phrase and store it offline
- Confirm the phrase and finish setup
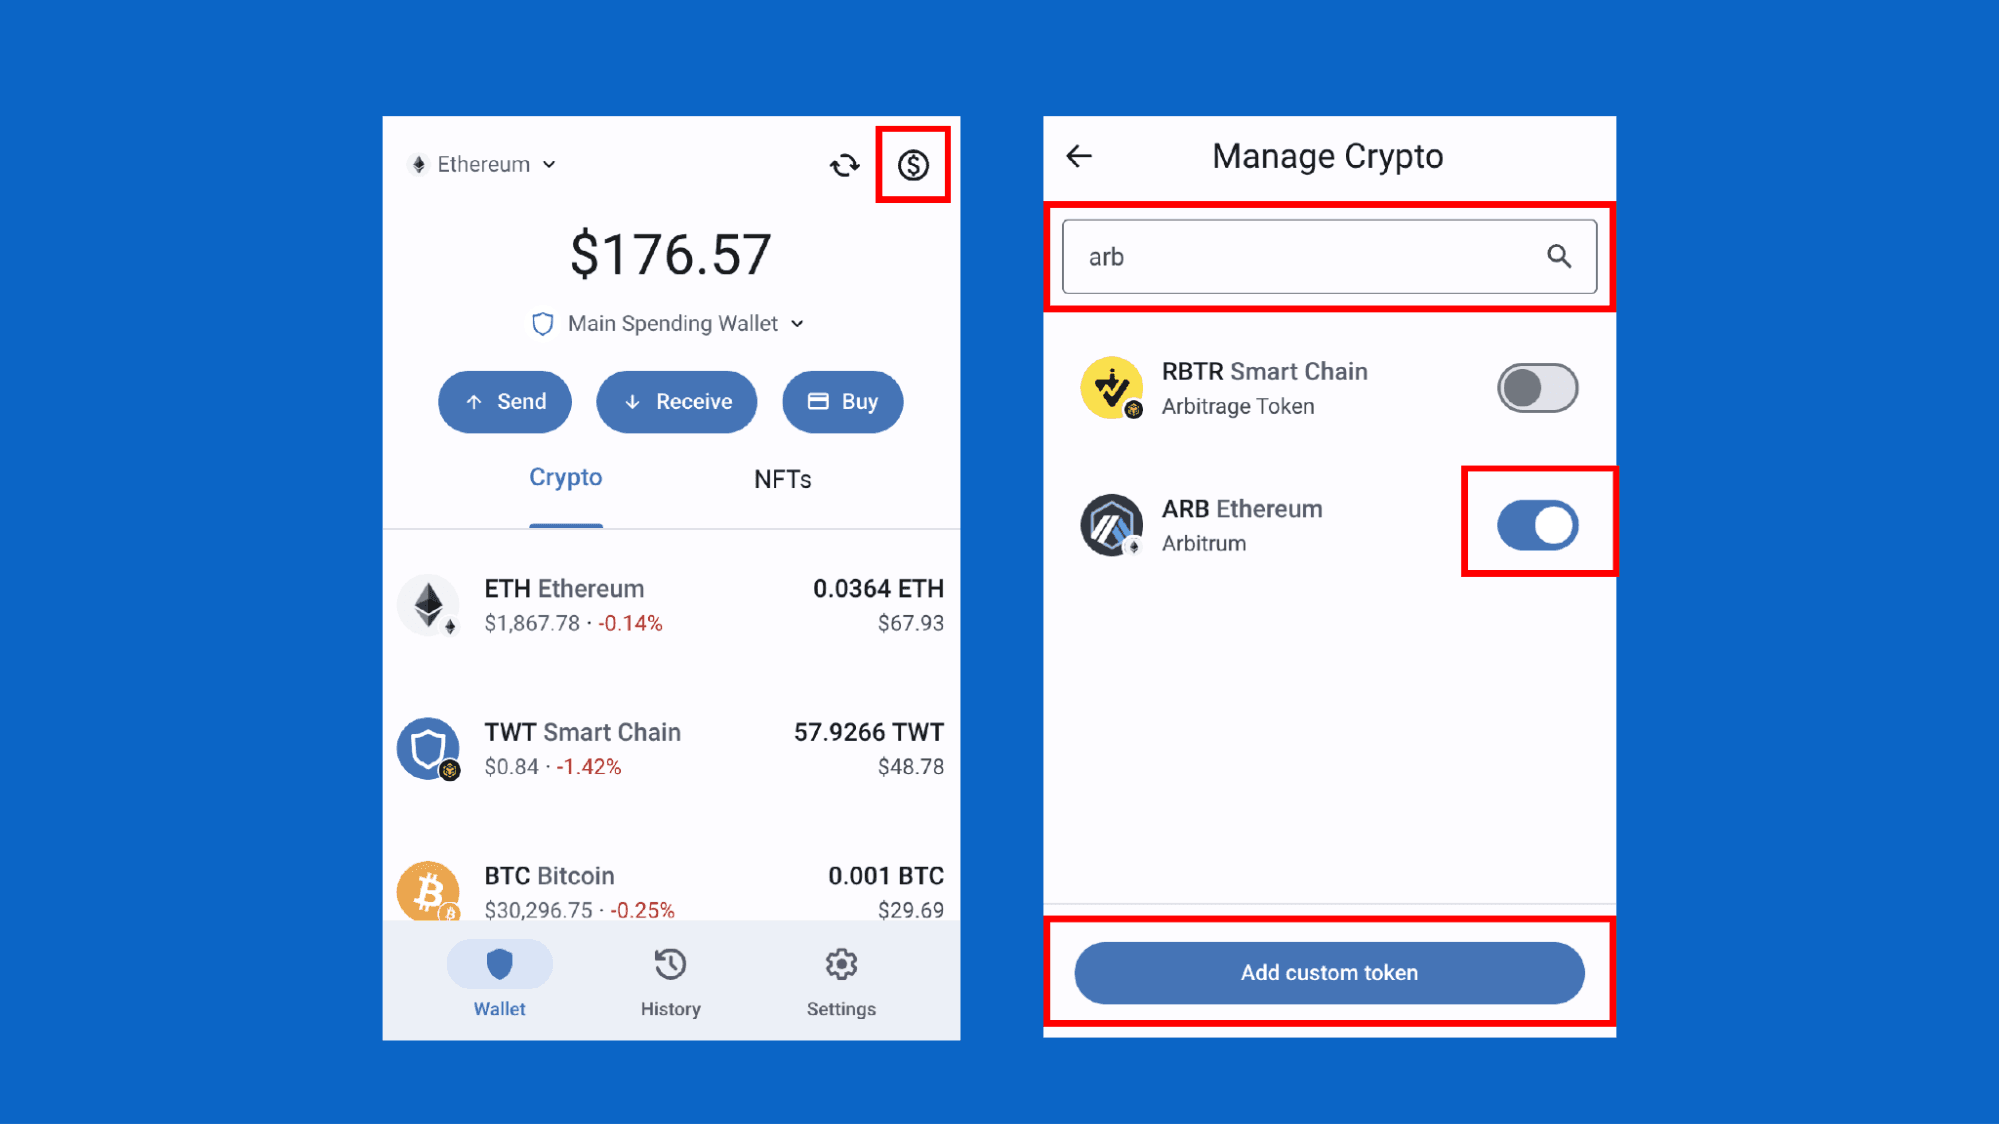
Option B: Setting Up Coinbase Wallet
- Download Coinbase Wallet (mobile or browser)
- Choose Create new wallet
- Securely back up your recovery phrase
- Enable biometric or password protection
⚠️ Important: Never share your recovery phrase. Anyone with it can access your funds.
Step 2: Add the Arbitrum Network to Your Wallet


Hyperliquid uses Arbitrum, a Layer 2 blockchain built on Ethereum.
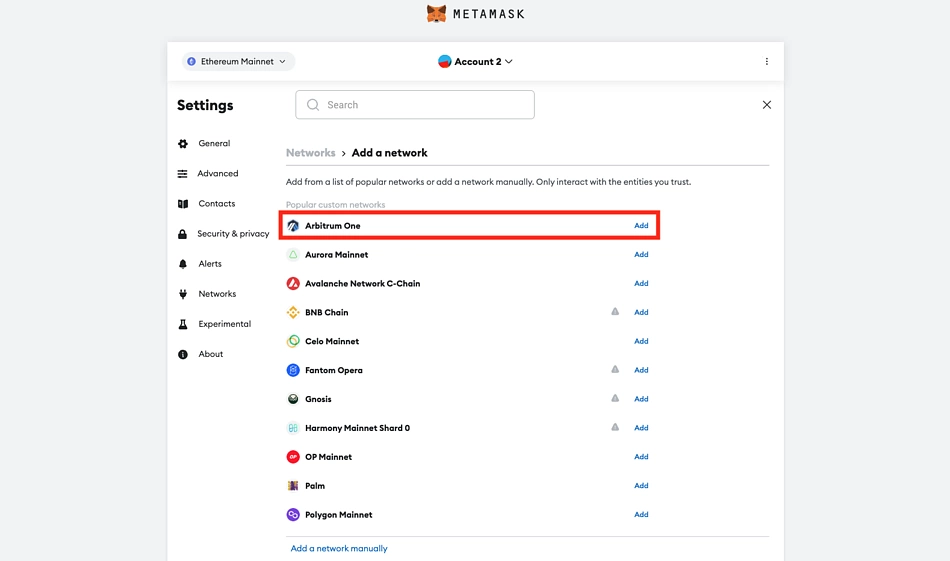
How to Add Arbitrum to MetaMask
- Open MetaMask
- Click the network dropdown
- Select Add Network
- Search for Arbitrum One
- Click Approve
Coinbase Wallet usually supports Arbitrum automatically.
Step 3: Fund Your Wallet With ETH for Gas Fees

You’ll need a small amount of ETH on Arbitrum to pay transaction fees.
How to Get ETH on Arbitrum
- Buy ETH on a centralized exchange
- Withdraw ETH directly to Arbitrum
- Or bridge ETH from Ethereum mainnet
Even $5–$10 worth of ETH is usually enough for many transactions.
Step 4: Get USDC on the Arbitrum Blockchain

Hyperliquid uses USDC as its primary trading collateral.
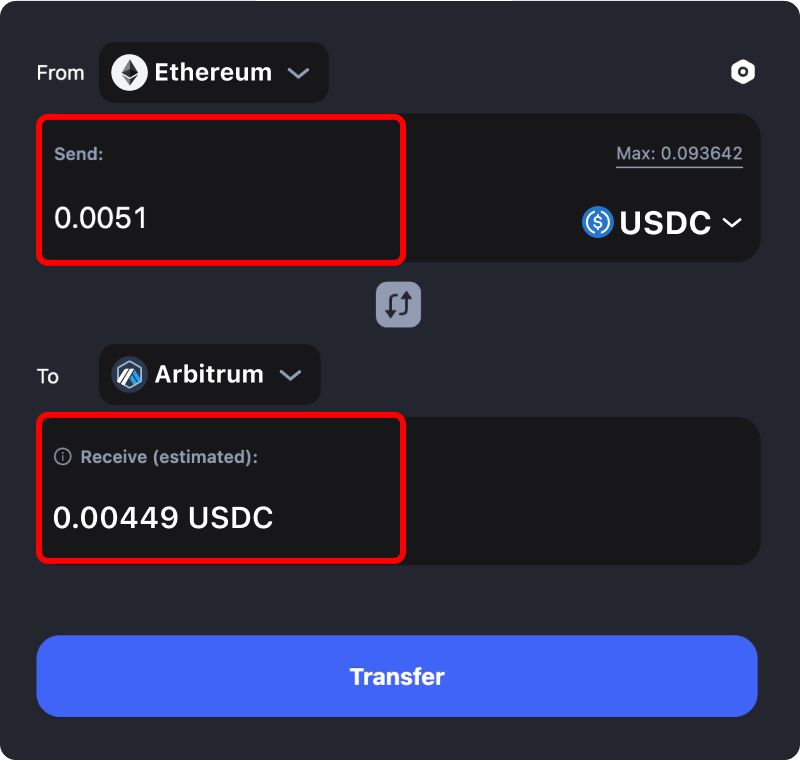
Ways to Get USDC on Arbitrum
- Buy USDC on a centralized exchange and withdraw to Arbitrum
- Bridge USDC from Ethereum to Arbitrum
- Swap ETH for USDC on an Arbitrum DEX
Make sure your USDC is native Arbitrum USDC, not bridged to another network.
Step 5: Connect Your Wallet to Hyperliquid.xyz

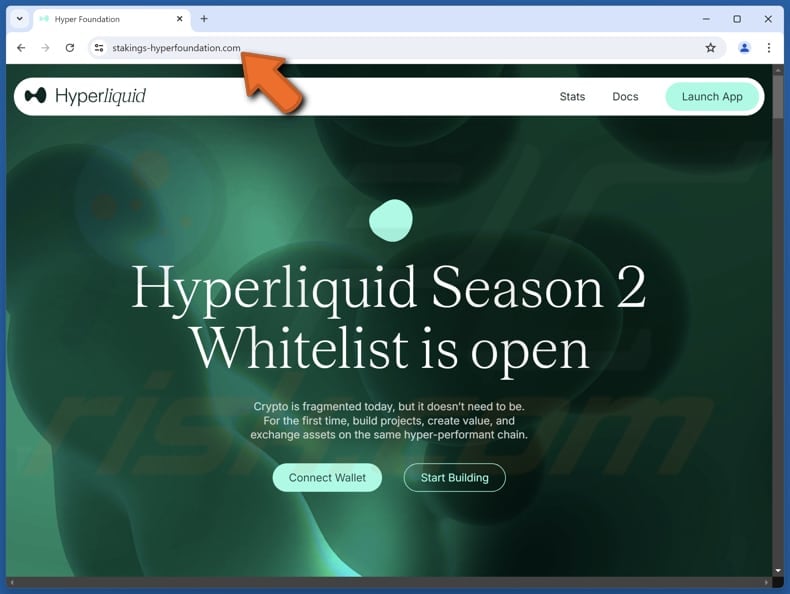
Now you’re ready to access the platform.
How to Connect
- Visit hyperliquid.xyz
- Click Connect Wallet
- Choose MetaMask or Coinbase Wallet
- Approve the connection
- Sign the message (no gas fee required)
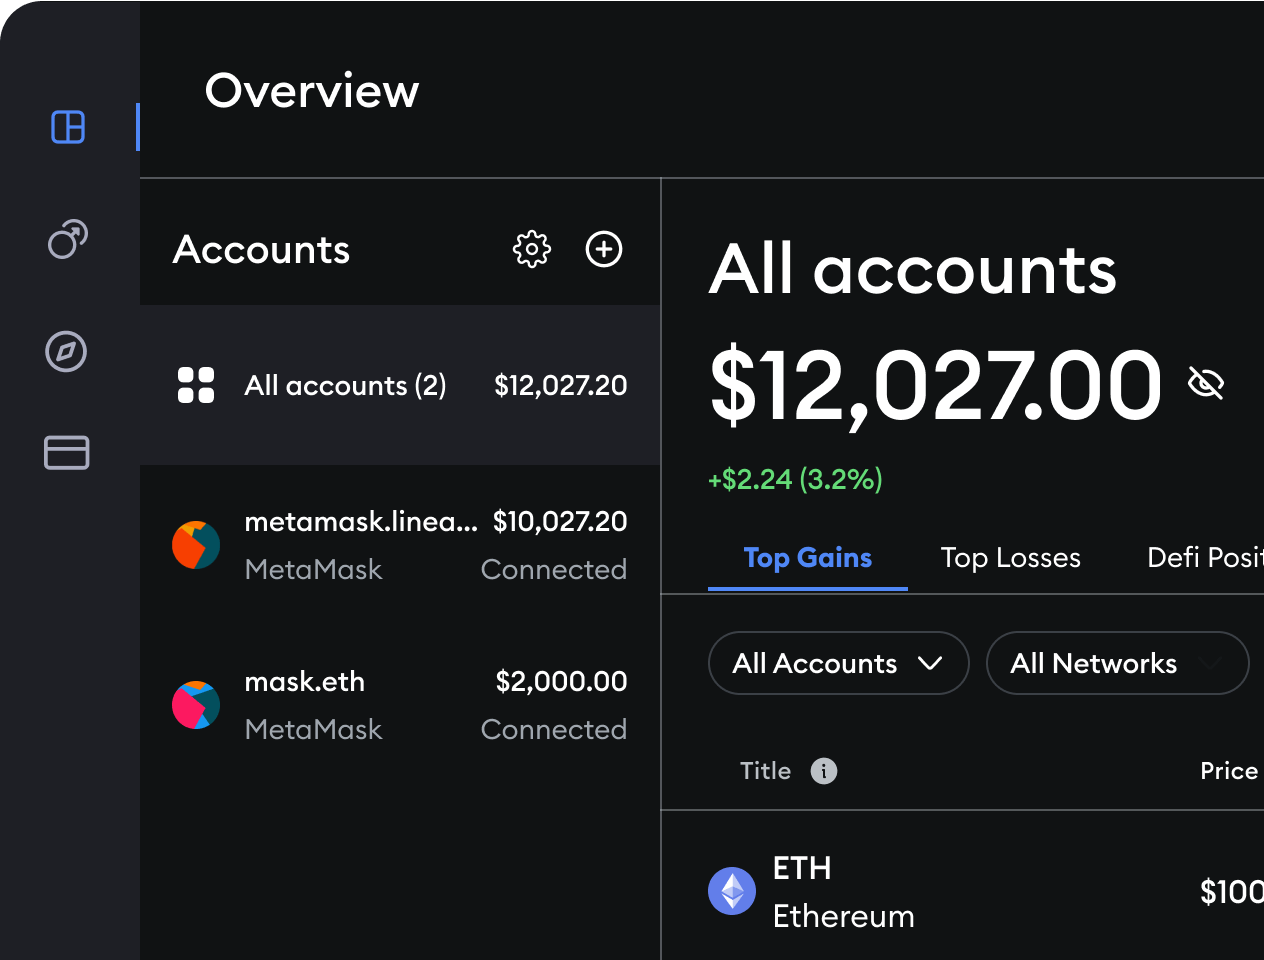
Once connected, your wallet address will appear in the top corner.
Step 6: Deposit USDC Into Hyperliquid

Before trading, you must deposit USDC into Hyperliquid’s trading account.
Deposit Process
- Click Deposit
- Enter the amount of USDC
- Confirm in your wallet
- Wait for confirmation (usually seconds)
Your deposited USDC will appear as available trading balance.
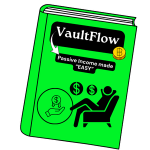
Step 7: Understanding the Hyperliquid Trading Interface

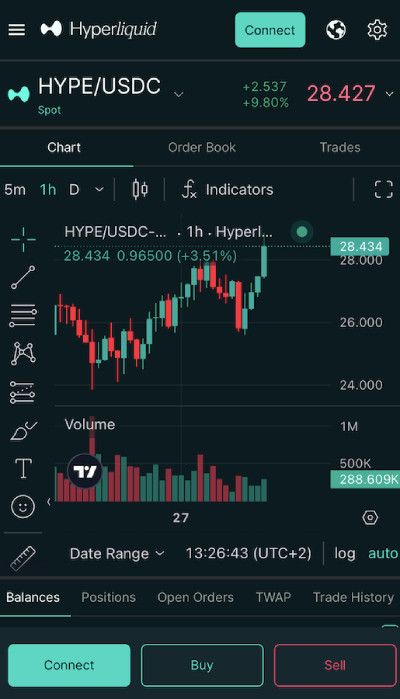
The interface may look complex at first, but it’s easy once you understand the basics.
Key Sections
- Order Book: Live buy and sell orders
- Chart: Price action and indicators
- Position Panel: Open trades and PnL
- Order Entry: Place market or limit orders
Hyperliquid supports perpetual futures, meaning you can trade with leverage.
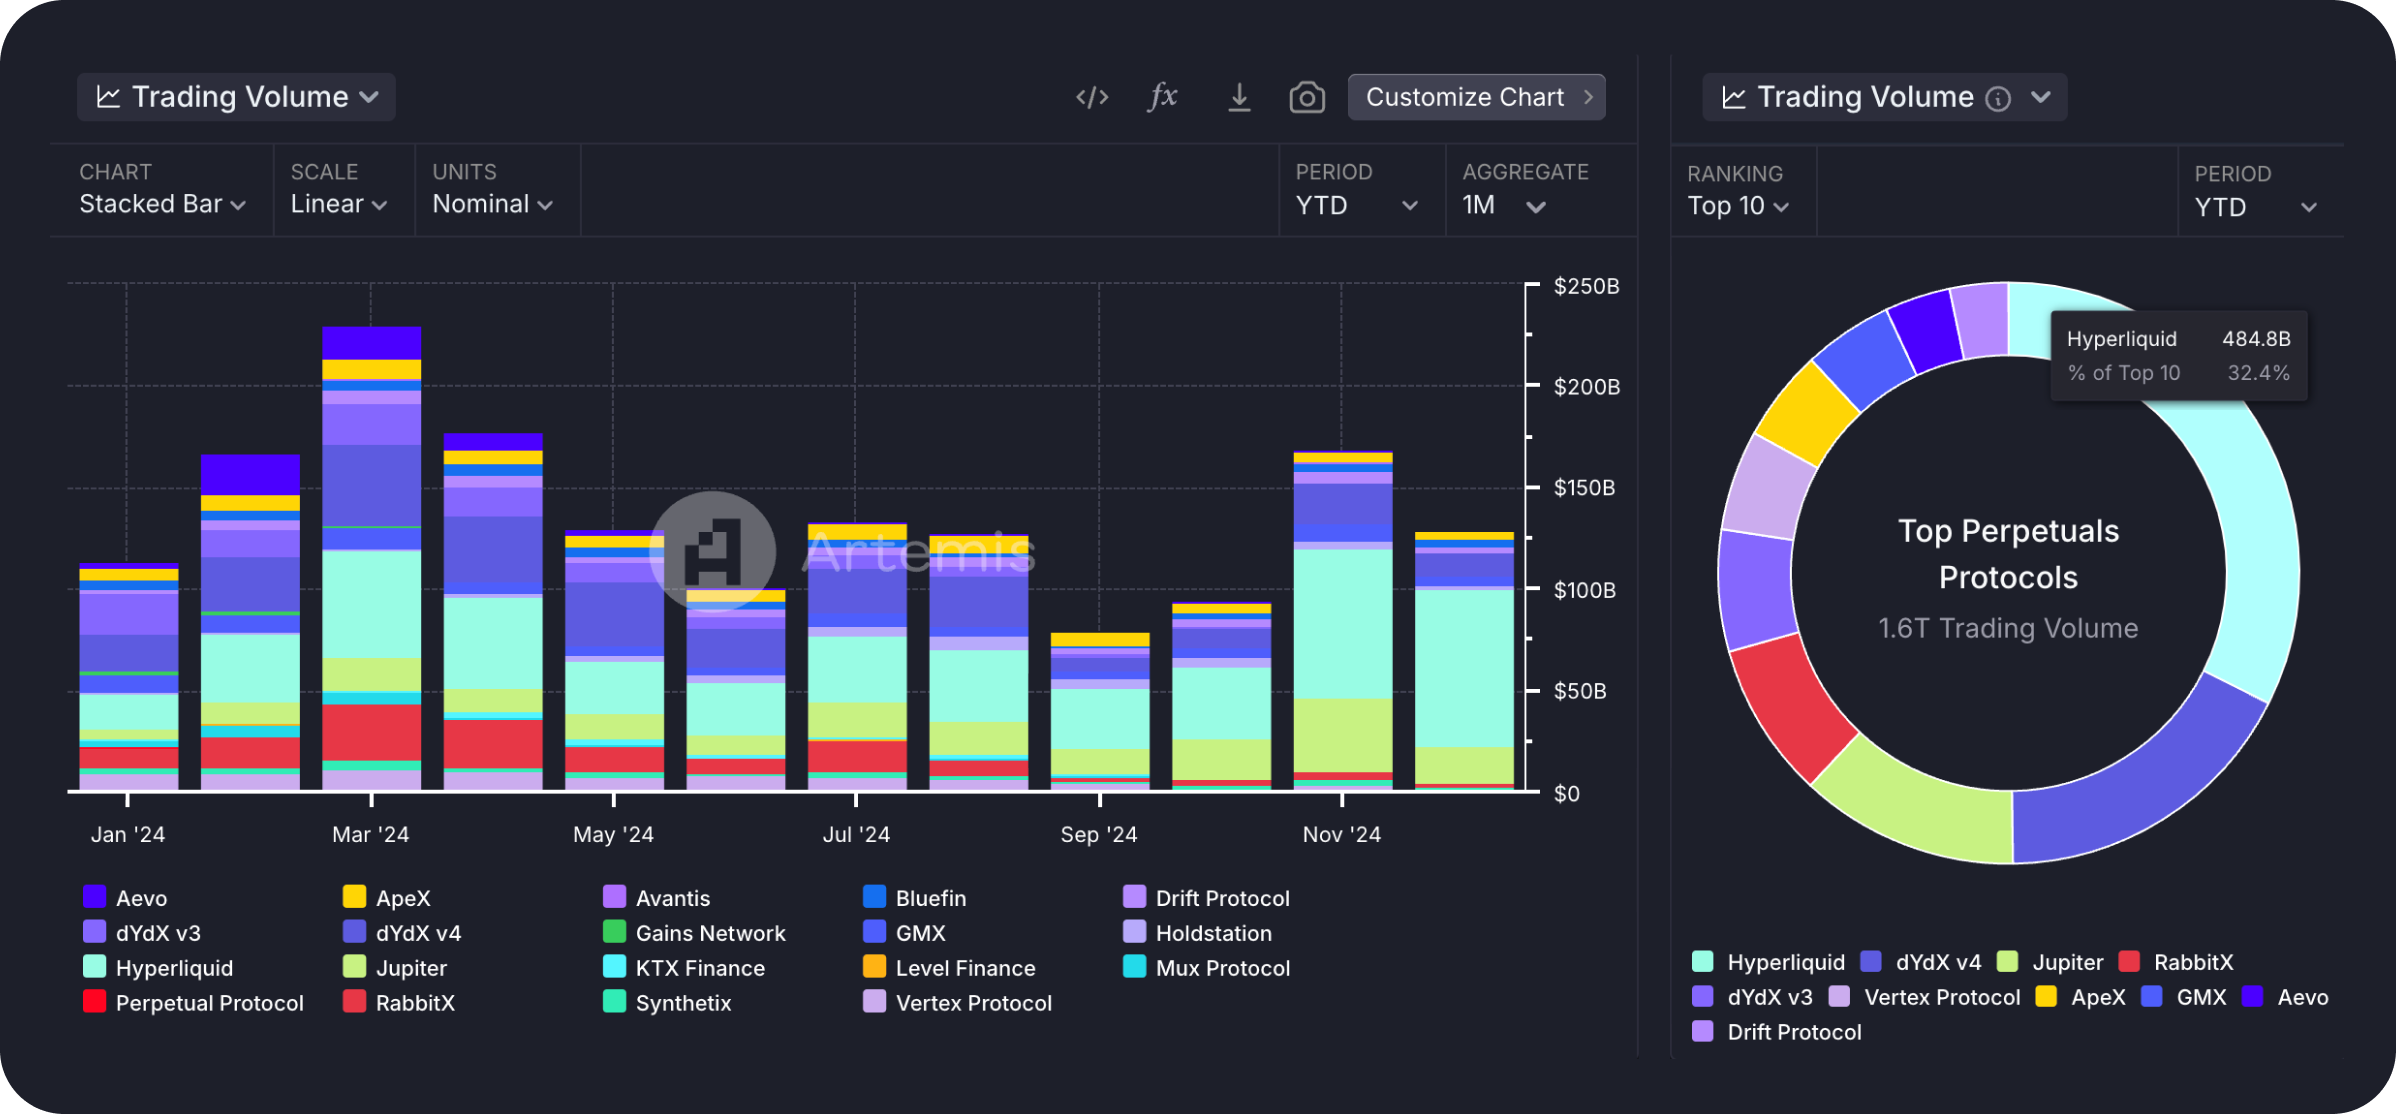
Step 8: Placing Your First Trade on Hyperliquid
Example: Opening a Long Position
- Select a trading pair (e.g., BTC-PERP)
- Choose Market or Limit order
- Enter position size
- Select leverage (start low as a beginner)
- Click Buy / Long
- Confirm the transaction
Your position will appear in the open positions panel.
Step 9: Managing Risk, Leverage, and Liquidation


Leverage amplifies both gains and losses.
Beginner Risk Management Tips
- Start with 1x–3x leverage
- Always use stop losses
- Never risk more than you can afford to lose
- Monitor liquidation price carefully
Hyperliquid displays liquidation levels clearly to help manage risk.
Step 10: Withdrawing Funds From Hyperliquid
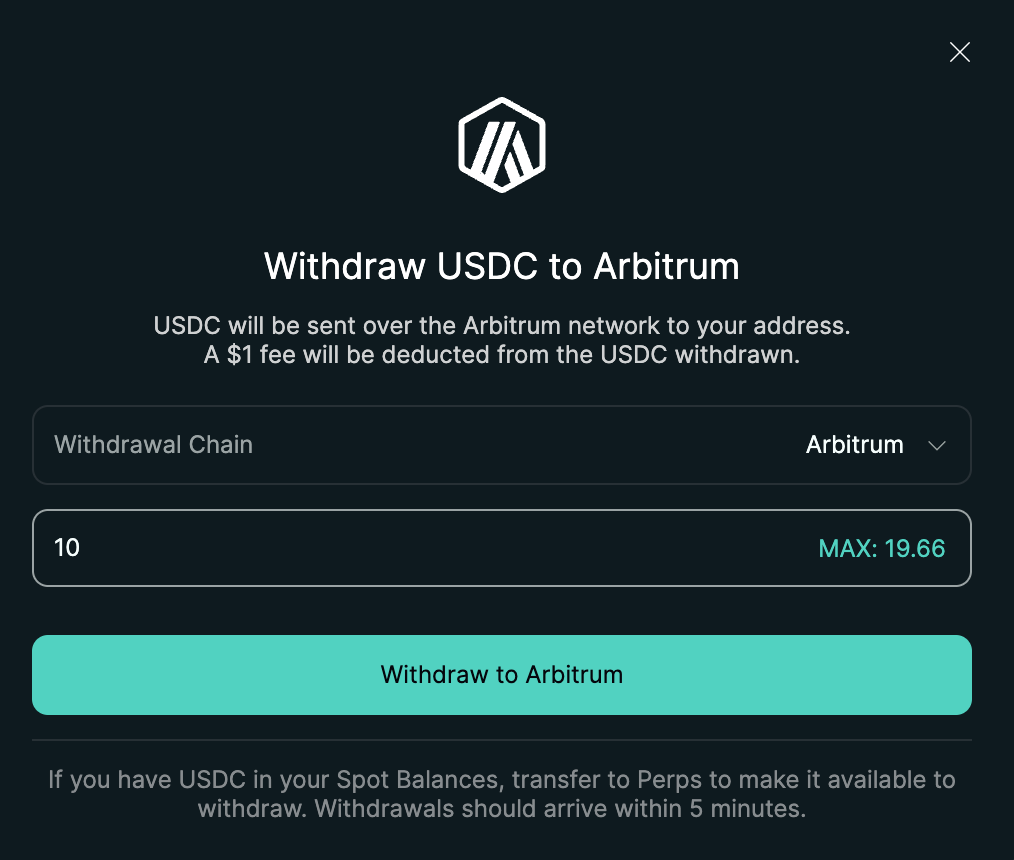
When you’re ready to exit:
- Click Withdraw
- Enter USDC amount
- Confirm transaction
- Funds return to your wallet on Arbitrum
Withdrawals are fast and remain fully non-custodial.
Is Hyperliquid Safe for Beginners?
Hyperliquid is considered one of the most technically advanced DEXs available today. However, beginners should remember:
- DeFi carries smart contract risk
- There is no customer support like centralized exchanges
- Losses are irreversible
Start small, practice with minimal funds, and learn before scaling up.
Final Thoughts: Is Hyperliquid Worth Using?
If you’re looking for a fast, non-custodial, and professional-grade decentralized exchange, Hyperliquid.xyz is an excellent choice—even for beginners who are willing to learn.
By following this step-by-step guide, you now know:
- How to set up a wallet
- How to fund it with USDC on Arbitrum
- How to trade safely on Hyperliquid
As with all crypto trading, education and discipline are key.